
The brief: Solar Flower. A massive orbital solar farm which is able to focus large amounts of solar energy and beam it down to the planet’s surface
The challenge: Creating a unique and beautiful structure which has an immense sense of scale, while clearly communicating it’s function. Push the limits of my understanding of various 3d and 2d work-flows.
—————————————
Most projects start with a reference gathering and sketching phase, where I find inspiration and doodle loose ideas. The looser I can be in this stage the better, as it’s mainly about the ideas and putting them down on the page.


Once I settled on a general direction for the artwork, I jumped into 3d (blender in this case) and blocked out the large shapes, workshopping them until the scale and proportions started to feel right. During this phase I was heavily referencing the large solar farms that exist in the real world, some of which focus the suns rays to superheat liquid salt and power turbines that run 24/7 - an awesome continuous power supply in it’s own right!


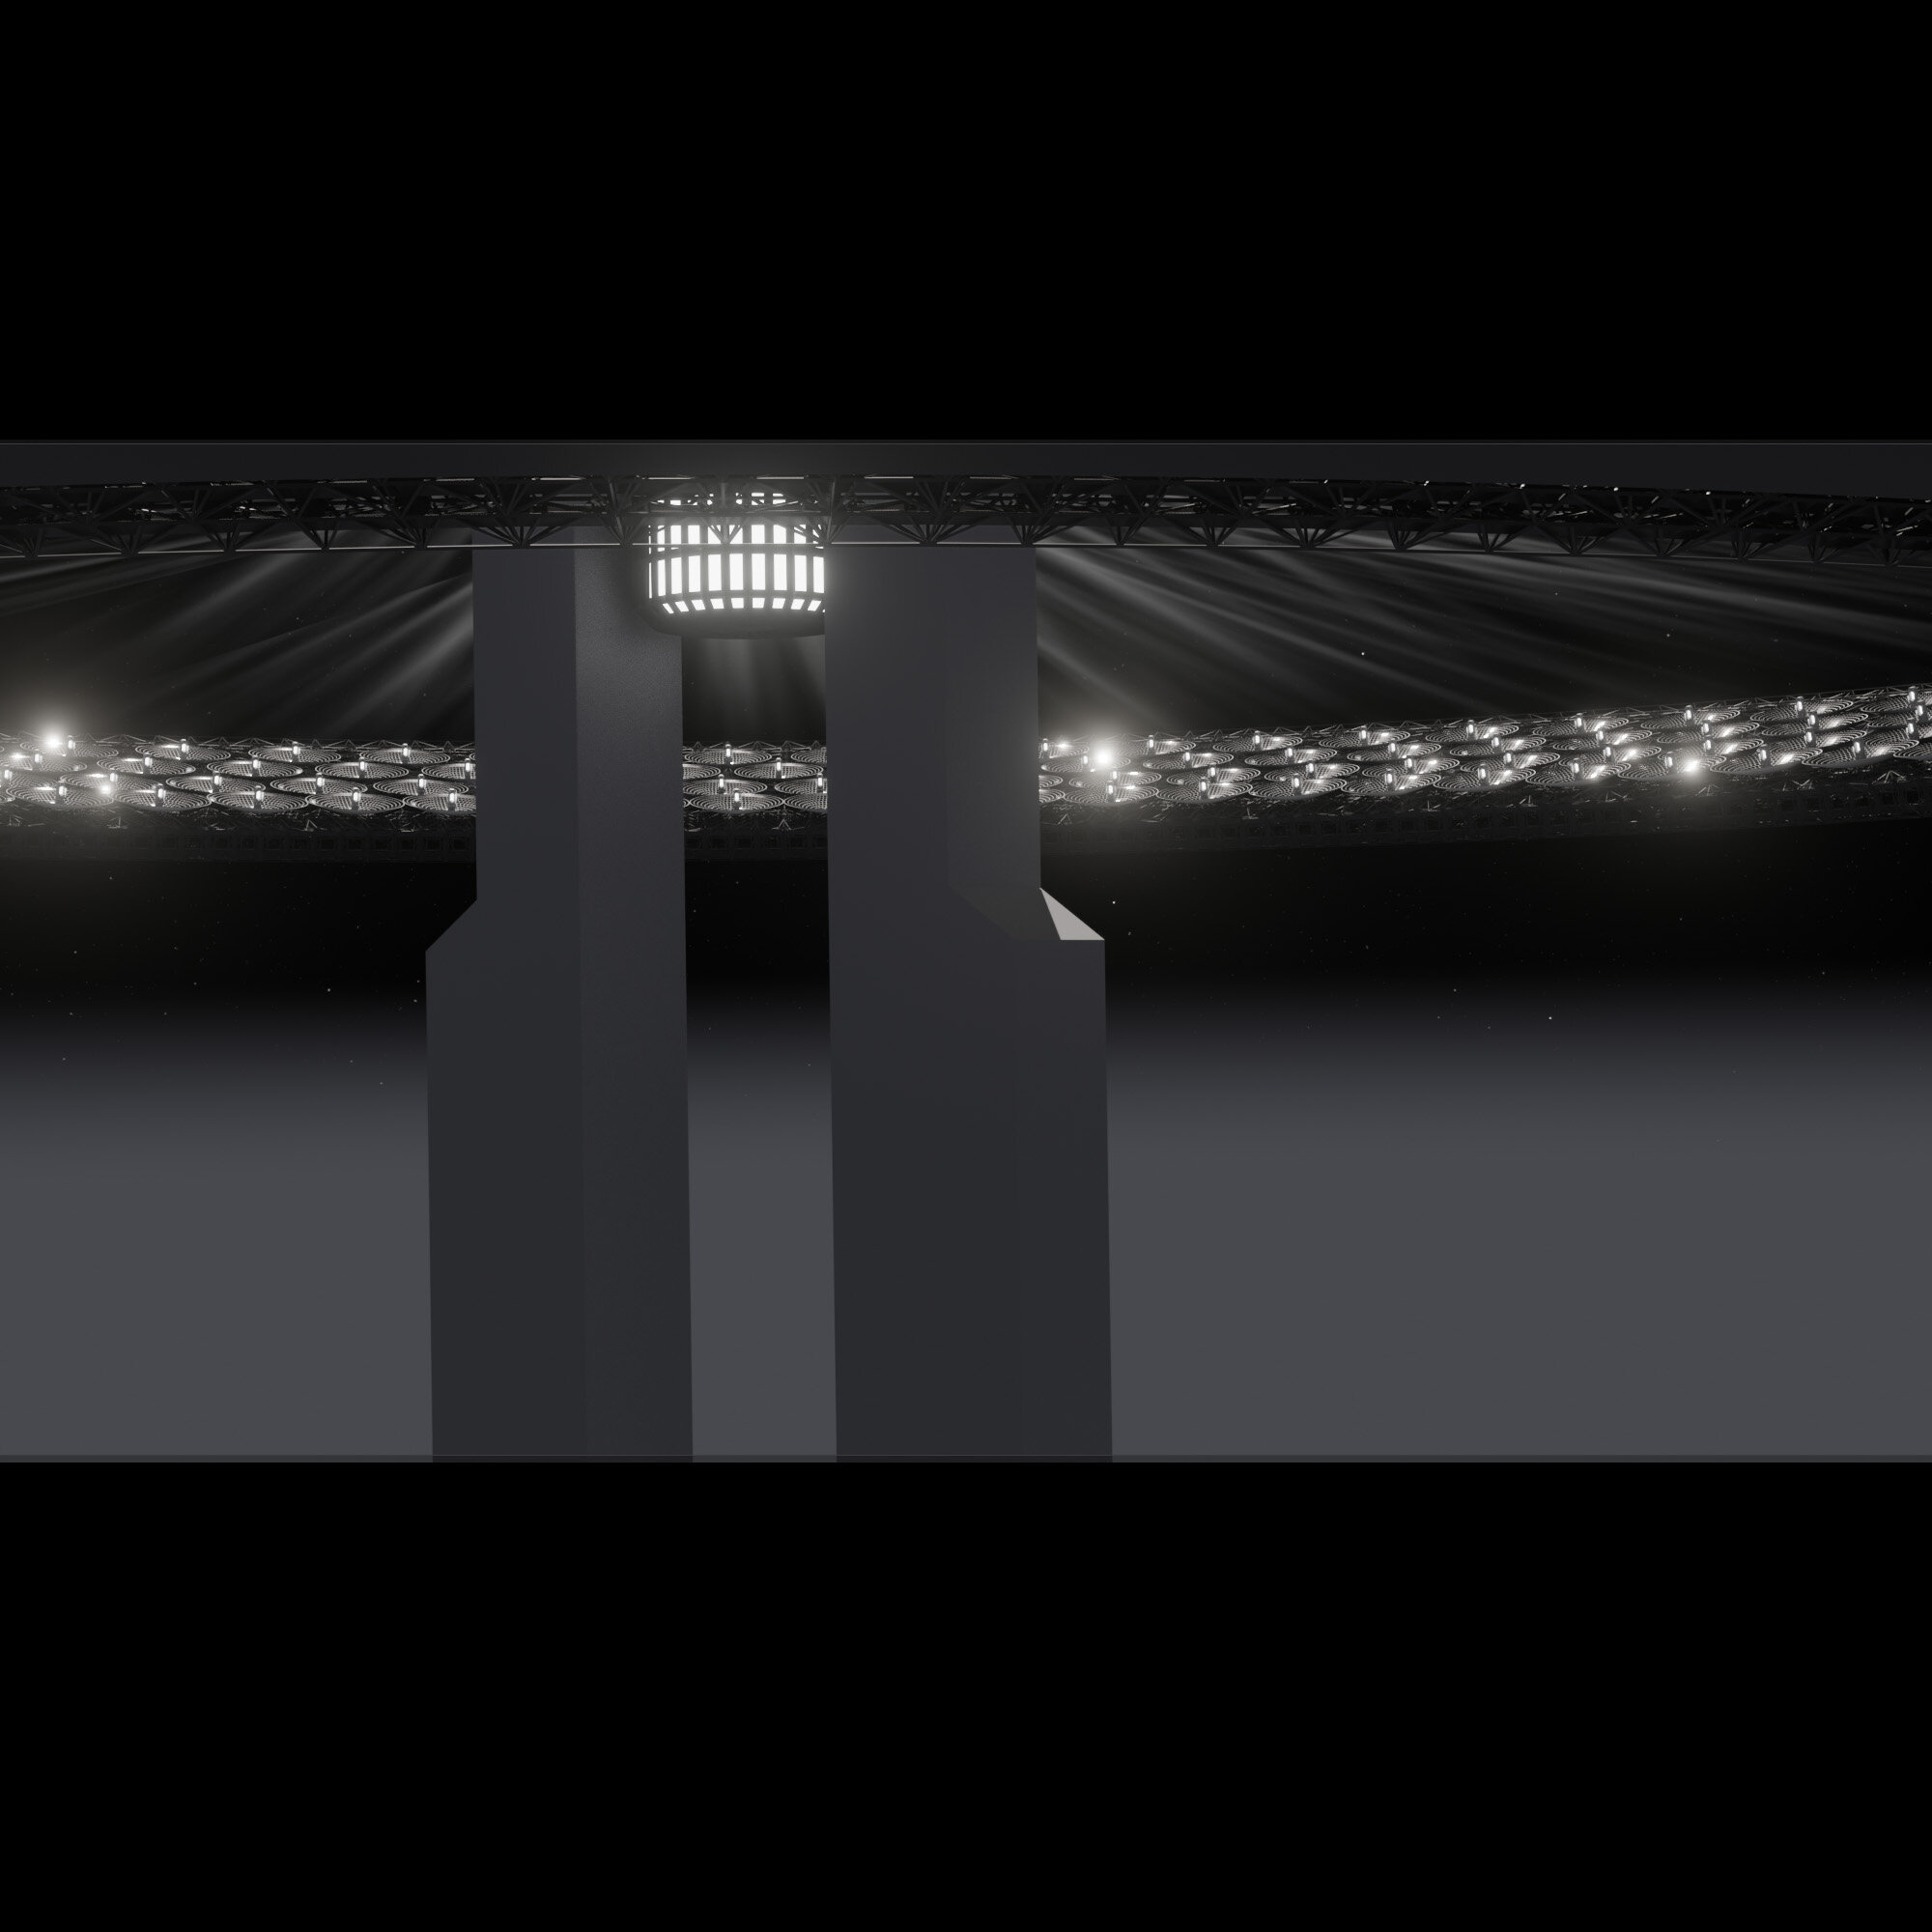
It was important for me to establish the scale early on. My plan to achieve this was to think about each dish on the main ring as being the same size as the already massive solar farms that exist on Earth today. This was when I started thinking about doing multiple shots in the final artwork, so I could show both the scale, and the concept properly.
At this stage I re-visited the design for the central focusing device. The cylindrical shape that was inspired by the superheated liquid salt solar farms wasn’t really doing it for me, I wanted something that read as a light focusing apparatus. I immediately thought of a) Fresnel lights used in theatre productions, and b) Lighthouses. I used both of these references as a spring board for the final designs, which I was much happier with.


The detail phase came next. Lots of push and pull. Adding and removing parts. Breaking up larger shapes with some smaller tertiary shapes to keep it interesting. I wanted to leave enough structure untouched and not too hyper detailed too as I felt that was staying true to the reference and hopefully would give it a more monolithic feeling.
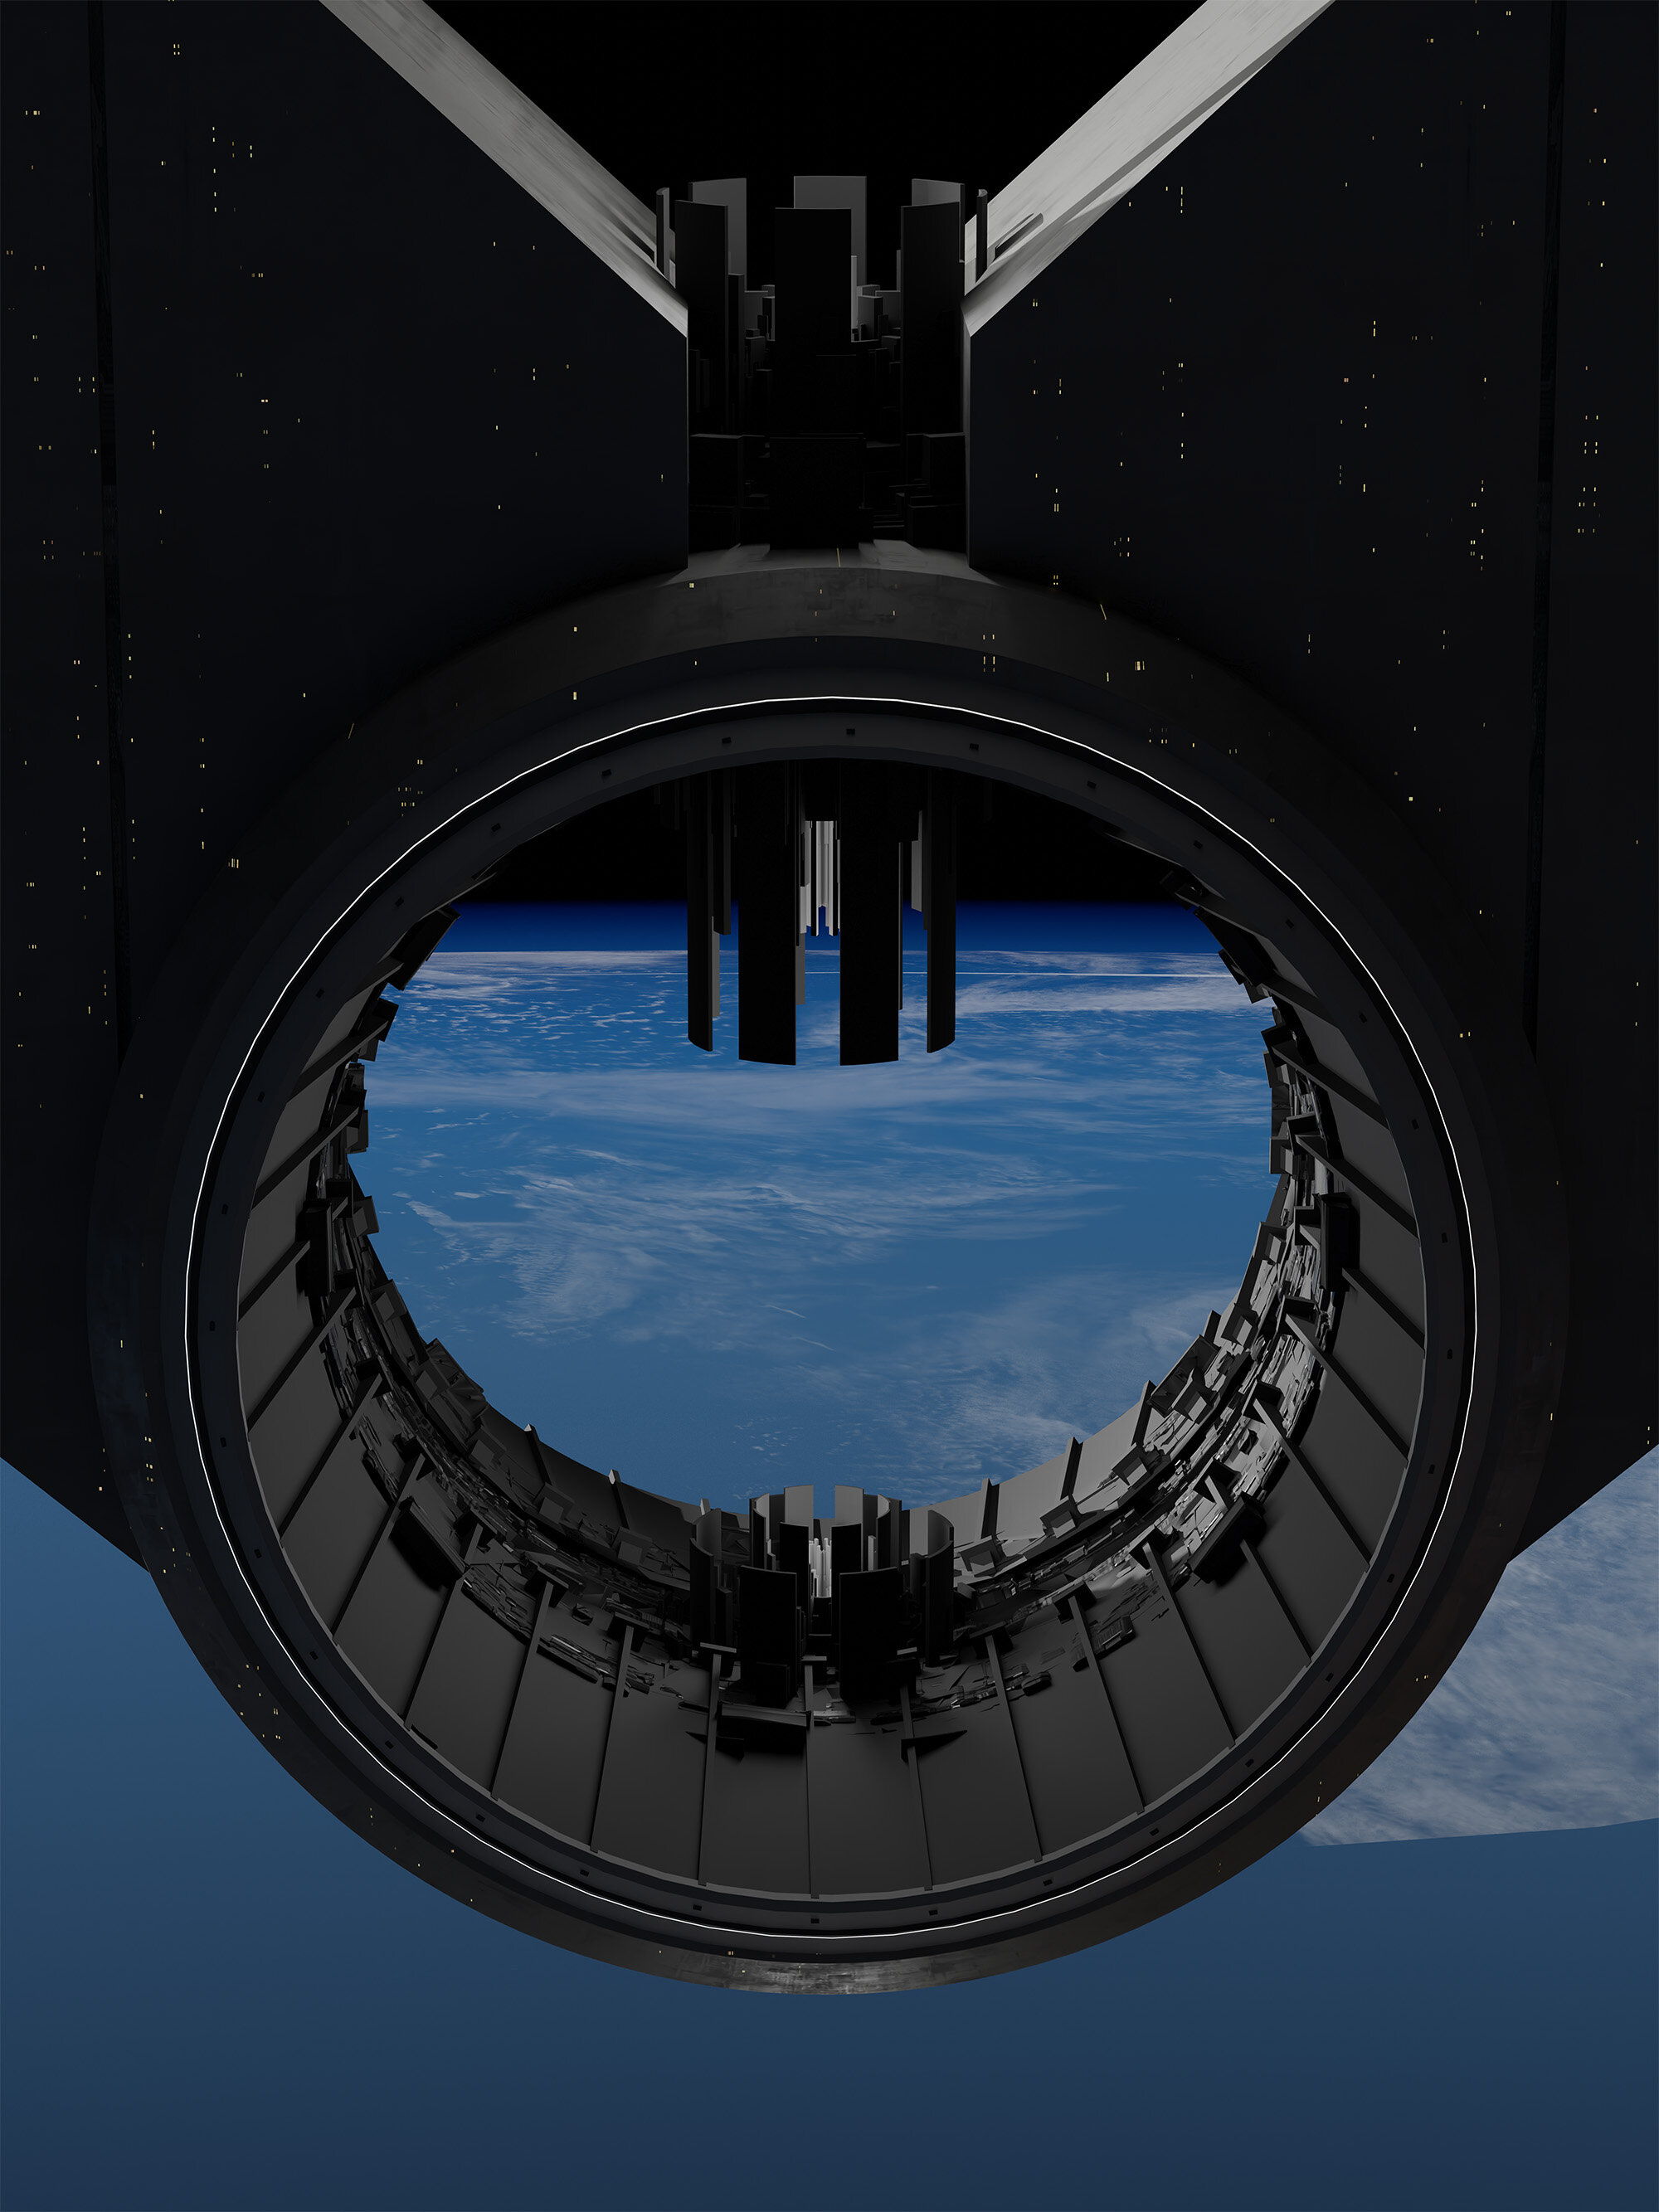
This was also the phase where I kit-bashed greebles and micro details in places that made sense, using public domain NASA models such as the Cassini space probe. I used these parts on some of the central lens apparatus too.


While this was happening, I was also creating a planet using massive spheres that felt roughly to scale (This is still art, not science!) and experimenting/learning how to create convincing planet shaders using public domain images of Earth taken from the international space station. Yes, It’s a texture accurate Earth! naturally I have all the action taking place over Australia ;). Again, lots of push and pull - experiments and learning. I ended up using a fresnel shader node and colour ramps to fake the atmosphere and was pretty happy with how that turned out. I was a LOT less expensive than using volumetrics.
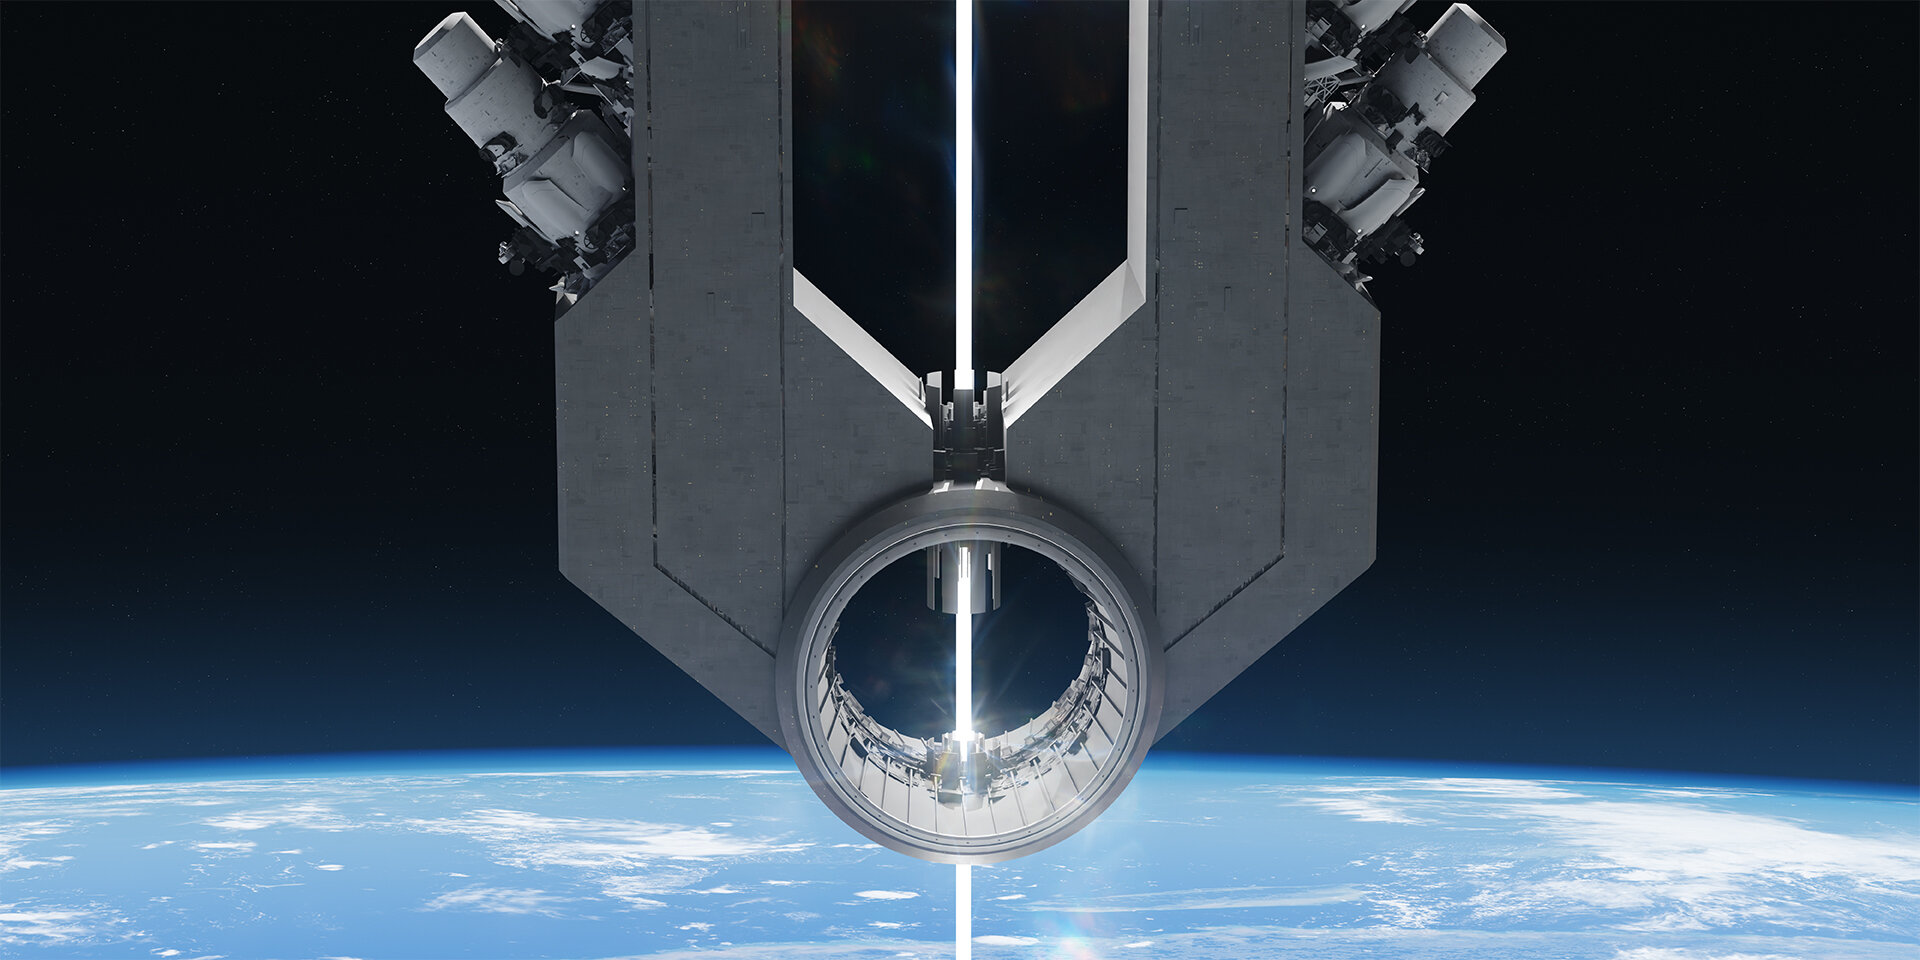
Finally, I instanced the whole Solar Flower collection so I could show some shots with multiple solar flowers in orbit. I played around extensively, picking camera angles and focal lengths that I felt best showed the structure. Some choices I made to evoke a feeling, and others to show scale or function.
The next stage was doing different render passes for each shot, taking it into photoshop, and painting over. I adjusted lighting, colour, levels, and camera lens effects to enhance the ‘documentary’ feeling of being there. Also rainbow flares make it feel happy :)


After this, I did a tonne of renders, paint overs, re-renders of different angles. Tweaking things here and there, picking new angles etc etc. The guts of the artwork was there, but I spent a lot of time workshopping the best way possible to show it. By this stage I had decided to create a video. There was just too much of Solar Flower as a concept that I wanted to showcase and 1 shot just wasn’t going to cut it. I settled on 4.
So I downloaded Da-vinci resolve for the first time and jumped in. My favourite way to learn is by doing. I watched some basic navigation tutorials and then began the vid, thinking of things I wanted to do, problems to solve, and troubleshooting and googling solutions along the way.
Initially, I had planned to make a 2:3 vertical composition as I thought the structure would fit nicely in frame. But after some advice from a friend, I decided a standard 16:9 would be the way to go as it would be more compatible with displays.


Back to blender, change aspect ratio, re-render every pass for each camera angle, repaint in photoshop, export seperate layers, back to Davinci.


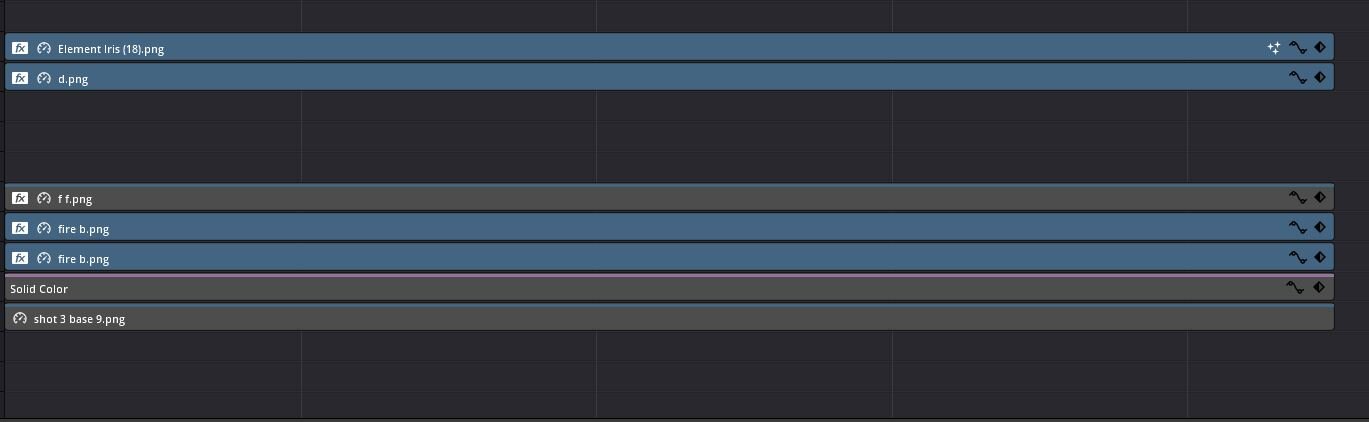
While putting together each shot, I played around a lot with transparent emissive textures in blender, using static images of camera flares and animating them by keyframing texture coordinates and procedural noise plugged into the UV channels to add some distortion etc. Again, lots of experimenting in this phase. I thought a lot about solar flares and lens flares and how I could create and incorporate them into the video as some kind of energy pulse. Lots of experimenting in Da vinci here too. I’m sure there are better ways to achieve these effects if I was a full 3d specialist, but I think this time around it would have made the project run on for too long and I ended up with something I’m happy with.
This stage was really treading the line between what would actually happen in reality vs what I think looks cool. Often in art, the latter trumps the former ;) From here on, it was all doing each individual shot, layering effects, finding the right balance with effects so as to not over do them, compositing everything into the final video and tweaking colours some more.
Last but not least, I sourced some CCO sound effects from freesound.org (low rumbles, subtle swooshes for transitions) and a Track from Meydan, who I reached out to collaborate with, but ultimately was too busy to create anything new for this project. I had been using his wonderful CC:BY track: ‘elk’ as a placeholder while putting together all the shots, so I ended up using it in the end, with some small tweaks to make for a smoother loop. I’d love to be able to collaborate properly with producers in the future, so if you make similar music, or know someone who might be interested, please do reach out on twitter.
So that’s it! A brief summary. It just barely covers the main milestones I crossed during the course of creating Solar Flower and says nothing of the months I spent trying to optimise, re-renders, oh god… months of re-renders. Sometimes a side effect of learning new software is spending a looong time in re-render hell, searching for all the possible reasons why there is any noticable banding or loss in quality while trying to stay under 50mb.
There are probably some things I’d like to do differently if I did It all again, but as a learning experience and one of my first video entries to any space… I dare-say I’m rather proud of what I was able to achieve :)
Below is the final result. Take a look at the final NFT and description here: SOLAR FLOWER